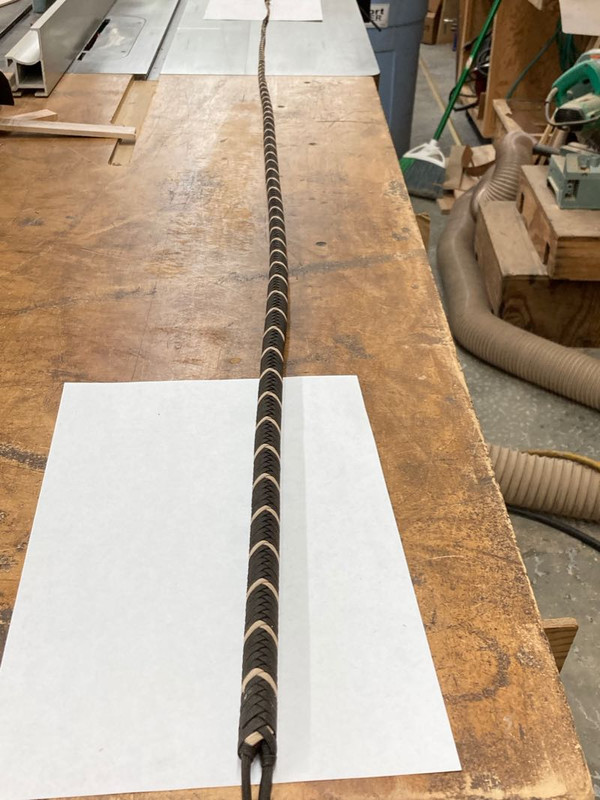
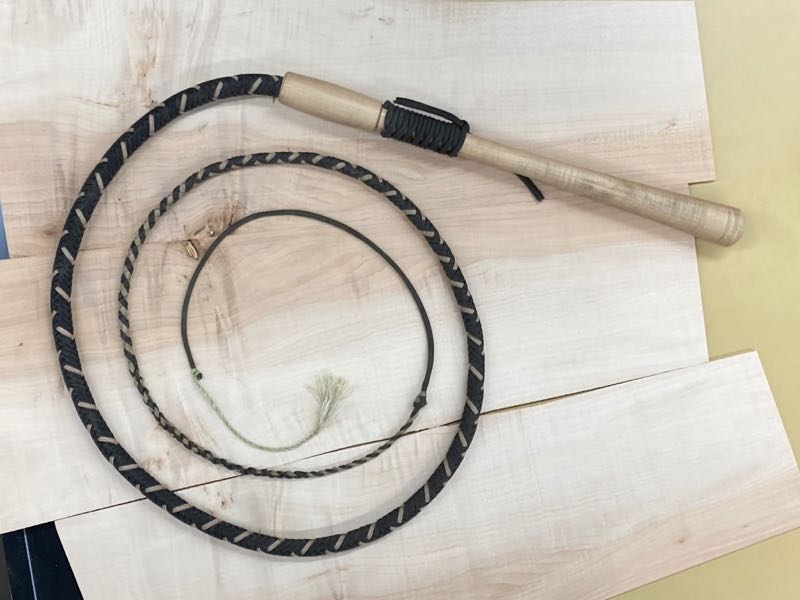
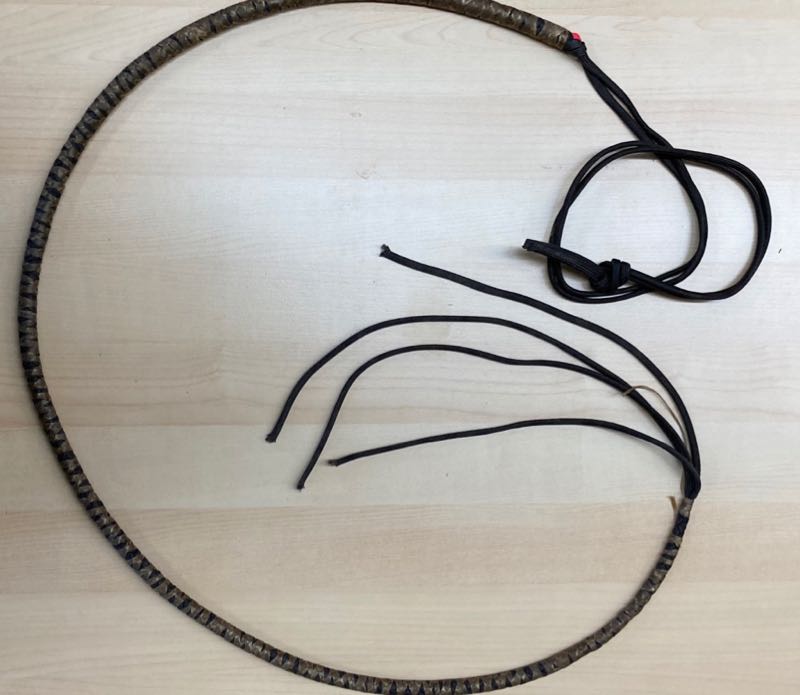
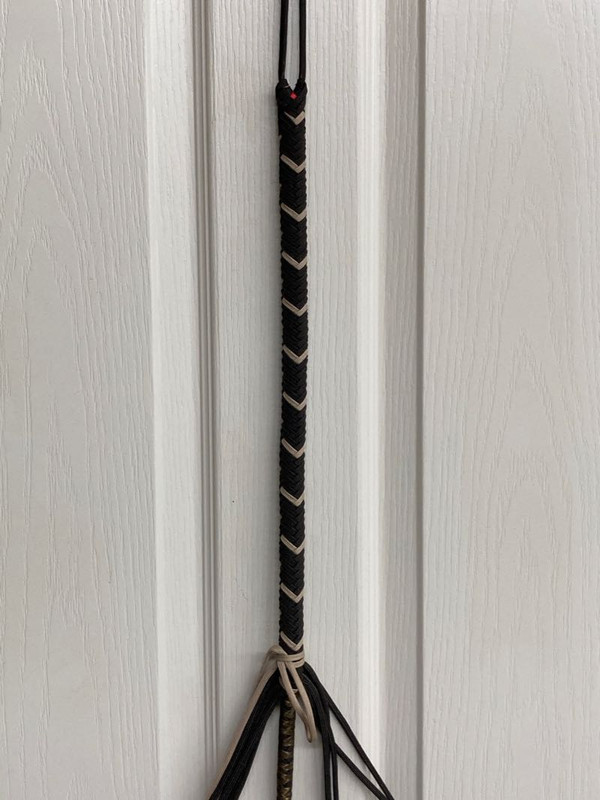
I started with an approx. 3'-0" tt core. (no photo) Have since seen Rachel's excellent video on this and probably wasn't as tightly twisted but it was pretty stiff ( next will be better) It was bound pretty well with sinew, then an 8 plait belly. It is tied off at 39" and 4 strands currently remain. My plan is to trim two of the 4 strands and stagger two when reached with the 12 plait overlay. Not sure how many strands will be in the overlay at that point. First photo is the bound 8 plait belly, then about 16" of 12 plait overlay.
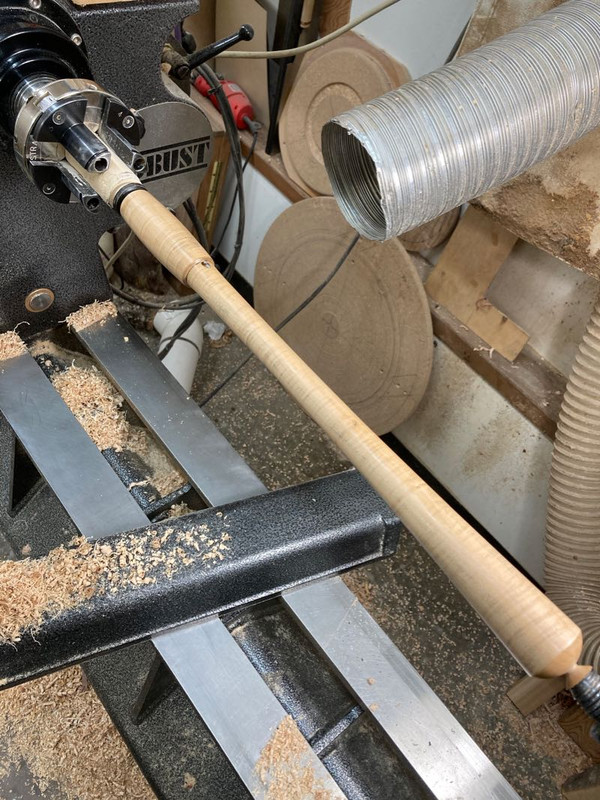
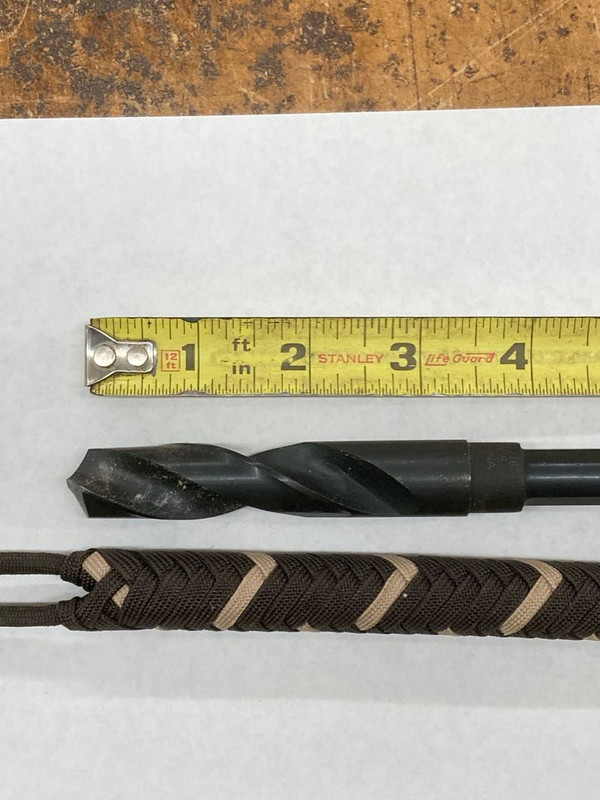
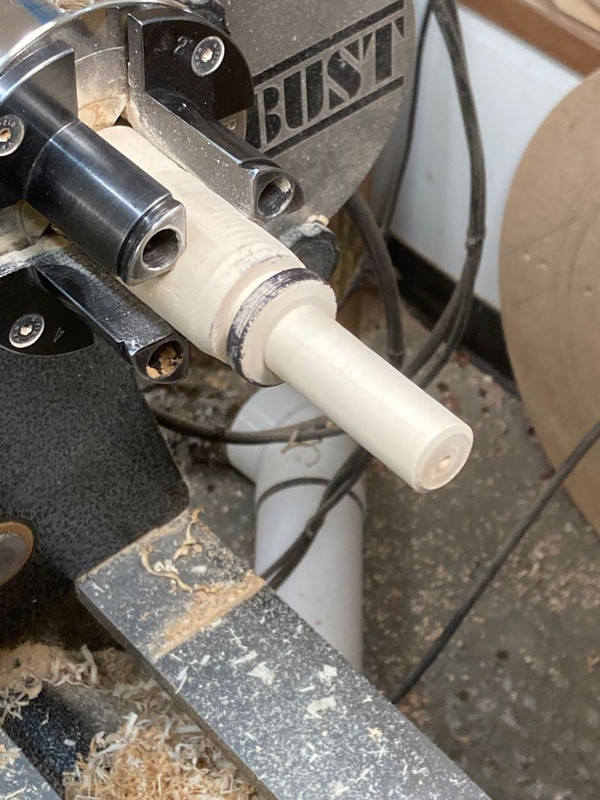
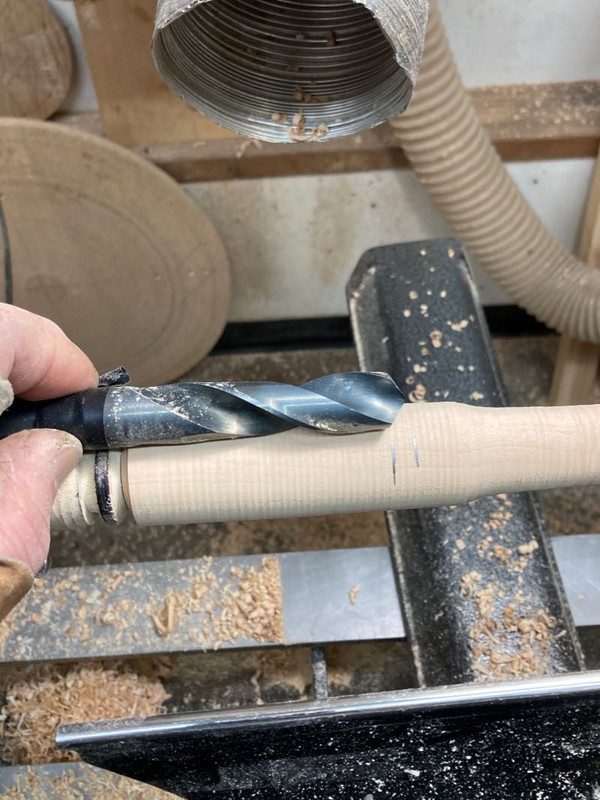
About 2-1/2" will go into the handle. An ideal hole size according to my overlay diameter will be approximately .700 More on this when the handle gets made. Meanwhile, considering where the first strands will drop. Thanks for looking and C&C always welcome