Page 4 of 6
Posted: Sat 19. Sep 2015, 21:30
by Craig Frank
First time using tape and sinew on a snake whip. I'll see if it works.
Posted: Sat 19. Sep 2015, 22:58
by Guest
Alright! Part two commencing. Build threads are always nice, keep us updated!
Posted: Sun 20. Sep 2015, 00:10
by Craig Frank
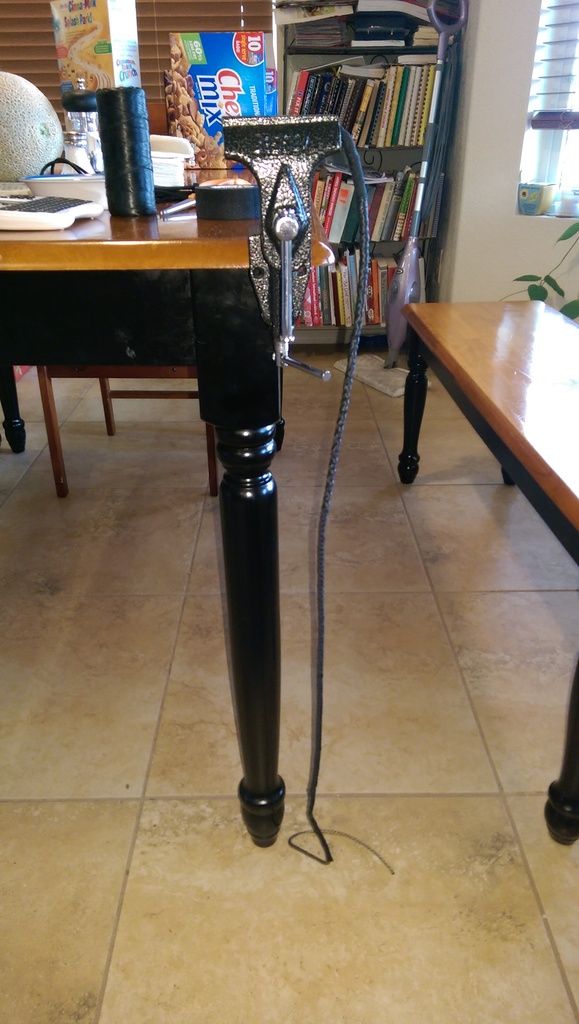
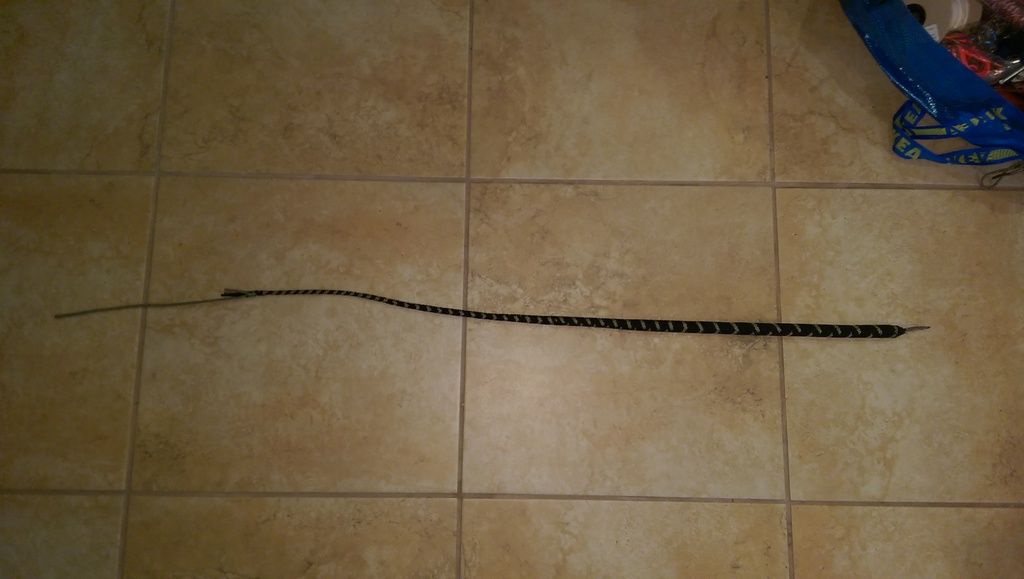
First belly, sinew, and tape.
Posted: Sun 20. Sep 2015, 01:40
by Craig Frank
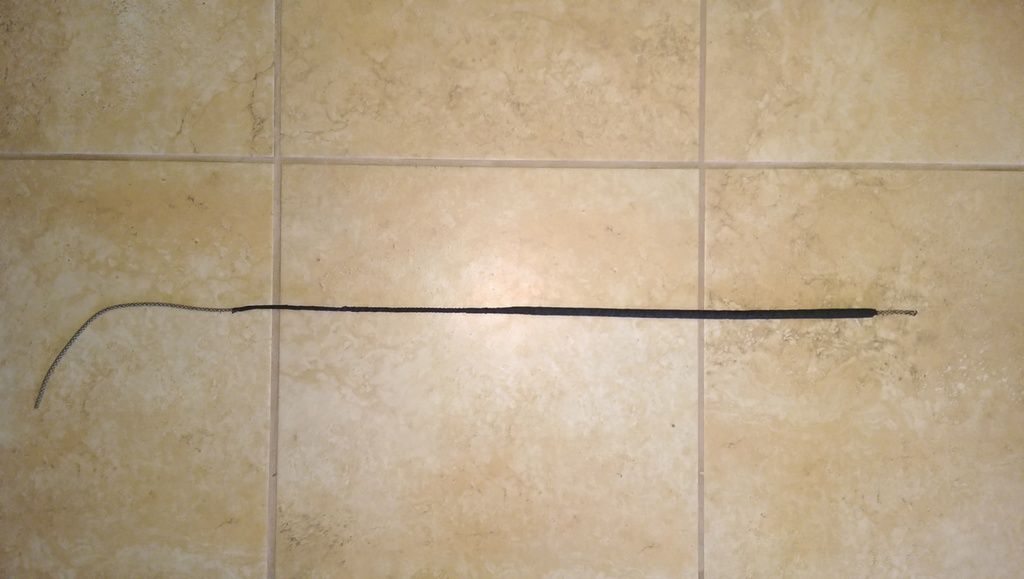
Second belly done. I didn't put sinew over this one because it's already so stiff. I did try to shape the taper with the last wrap of tape. I also managed to lose six inches off the total length somehow.
Posted: Sun 20. Sep 2015, 05:15
by Robert Gage
Craig, that does look like a 'serious pain'. I wonder if anyone else has found an easier method? One thing that strikes me: as you struggle to insert each piece of shot, your hands move around an awful lot. If you could slow down a bit, and reduce the extraneous movements, it might get a bit easier. (I haven't tried doing this, so I may be talking utter nonsense!)
Jessie, in responding to Craig, I've been reminded of your post above: 'That just proves that when I am having a hard time, I am trying too hard.' Exactly! I find that when I try too hard, I introduce tension into the action which inhibits results!
Posted: Sun 20. Sep 2015, 05:21
by Craig Frank
Robert - I think that was mostly caused by the nerves of being recorded. After the video ended I was much smoother.
Posted: Sun 20. Sep 2015, 05:33
by Robert Gage
Makes sense, Craig. Thanks!

Posted: Sun 20. Sep 2015, 10:23
by Guest
Oh I didn't see the video before now. That's pretty clever! I use a pair of round nose jewelry pliers if needed.
For cores I use this "battle cord" stuff:
http://atwood-rope.myshopify.com/collec ... attle-cord
It's just perfect and the .177 BB's drop right in with a little shake. 6mm (.236" or 1/4") also fit in nicely with the help of the pliers. I can also fit the cord over the handle rod so I get a more even shape and a secure connection. It might give a little more thickness to the whip opposed to 550 cord but I haven't found it to be a significant difference.
Posted: Sun 20. Sep 2015, 15:23
by Jessie Edwards
When I shot load, I used a fork. I kind of work the BB down into the end, then I put the paracord between the tines of the fork over the BB and slide it right down. I do like this lead core line and I refuse to give up on it yet. I'm completely out of paracords for a while (had to buy clothes for the kiddos this weekend) so I'm not able to experiment again for a month or so, but when I do, I will try the lead core again. No more BB's.
Posted: Sun 20. Sep 2015, 15:23
by Craig Frank
Erik - on my bull whips I use a 1/4" gutted rope that still requires some finagling to get the bbs in. Not force, just some intimidation. It fits over the 1/4" rod because the weave is pliable. Unfortunately, the weave also allows the bbs to pop out the sides if I push them too hard. I'm almost out of it and don't have a ready source for more, so I may try the battle cord. Thank you.
Posted: Sun 20. Sep 2015, 15:33
by Craig Frank
Jessie - please share the source of your lead core line. I'm intrigued.
Posted: Sun 20. Sep 2015, 15:56
by Jessie Edwards
Oh yes, its trolling line. I got mine from ebay. Here is the Cabella's website, so you can see what to look for.
http://www.cabelas.com/category/Lead-Co ... 590980.uts
I think I read that 6 strands of lead core equals the weight of a shot loaded piece of paracord?
Posted: Sun 20. Sep 2015, 16:09
by Craig Frank
Ah! What do you use to secure then all together in a single line?
Posted: Sun 20. Sep 2015, 16:39
by Jessie Edwards
Well, because I do my handles the way I do, I loop all of my strands. What is it called? English eye? Instead of making 6 strands all different lengths, I make 3 strands really long and loop them in the middle. I suppose for a handle like you do, you would simply glue them evenly around the rod and bind them tight when you bound your first belly? The others will probably know better since I just experiment and completely disregard directions most of the time.
Posted: Mon 21. Sep 2015, 00:03
by Craig Frank
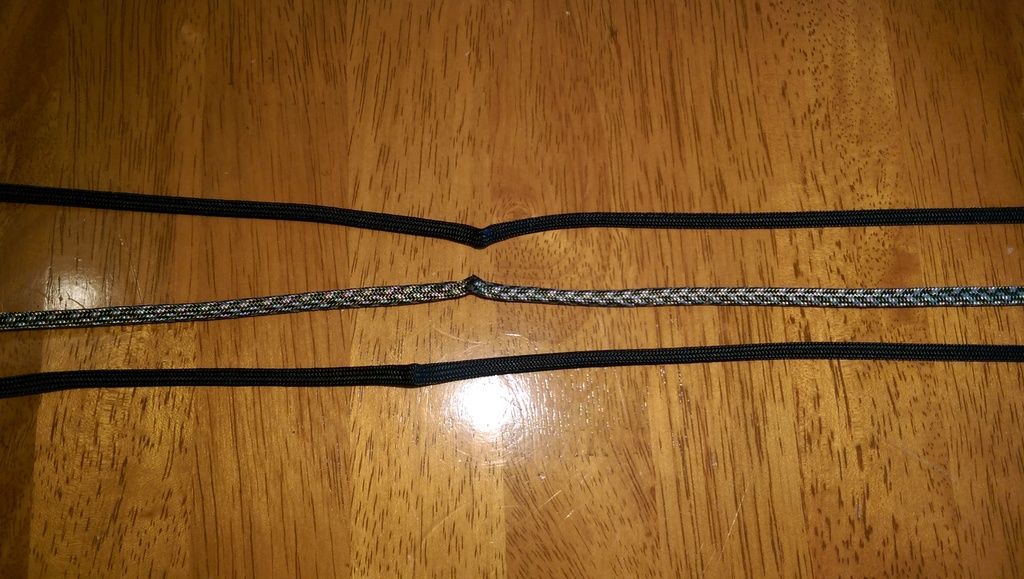
I just started on the overlay and I came up with a new to me idea for marking the center of each strand. Instead of using knots ala Nick's or marking with tape, I pinched the center together and then hit it with the lighter for a couple of seconds to make a permanent crease that isn't overly bulky.
Posted: Mon 21. Sep 2015, 01:08
by Rachel McCollough
Craig, that's neat right there!!!
Posted: Mon 21. Sep 2015, 02:12
by Craig Frank
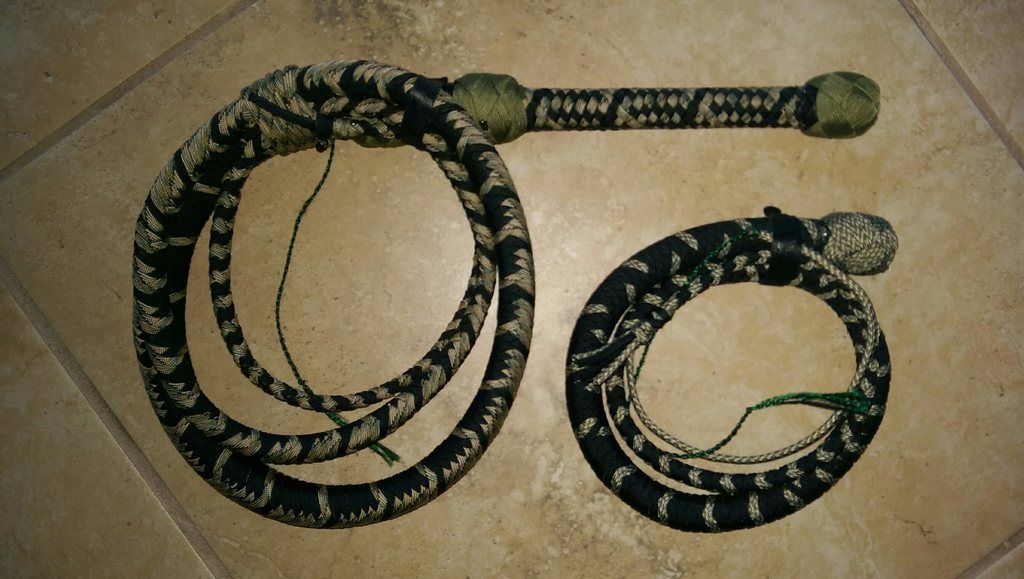
Rachel - thanks.
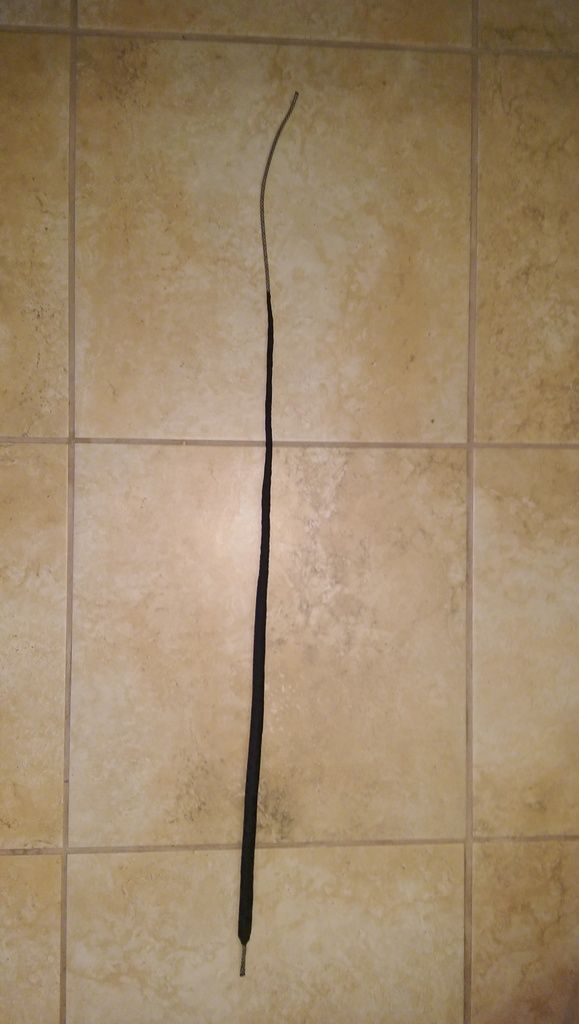
Overlay is done. I'll do the heel knot tomorrow after the plastic dip dries.
Gave it a few test cracks.
https://youtu.be/uPutfNAuwas
I was worried about it being too stiff, but it seems to crack alright in my heavy hands.
Posted: Mon 21. Sep 2015, 06:45
by Robert Gage
Looks good, Craig!
Posted: Tue 22. Sep 2015, 01:42
by Craig Frank
Ready to ship out to xxxx.
Posted: Tue 22. Sep 2015, 05:11
by Rachel McCollough
Wow!!!!!!! Craig, I think that's beautiful right there. That looks great! This being the first time you used hockey tape in a snake, how did you like the feel?


